
Part 1 covered the first 4 hours in my attempt at a 30 hour speed run to go from Zero to One making a Solarpunk visual novel
In this part I explore generating consistent characters on isolated white backgrounds, and contemplate the efficacy of generating a LoRA (Low-Rank Adaptation) model for each of them.
For more of my writing on AI over the years check the blog category here.
Day 1: Hrs 4~8
We pick up the speed run having just used in-painting to generate facial expressions and speaking animation, and having successfully created a character matte and replaced the background.


Over lunch I had wondered if it would be easier to generate characters on a white background.
Or, maybe, I could make a custom LoRA for each character? Then I could then use that in conjunction with controlNet+openPose+Automattic1111 to put any character in any scene.
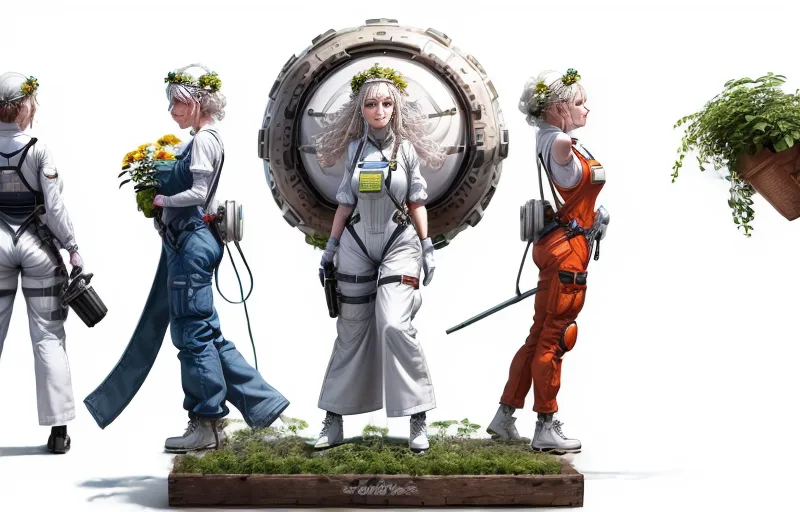
My first question is: Can I just put ‘white background‘ in the prompt and achieve something close to what I’m looking for?
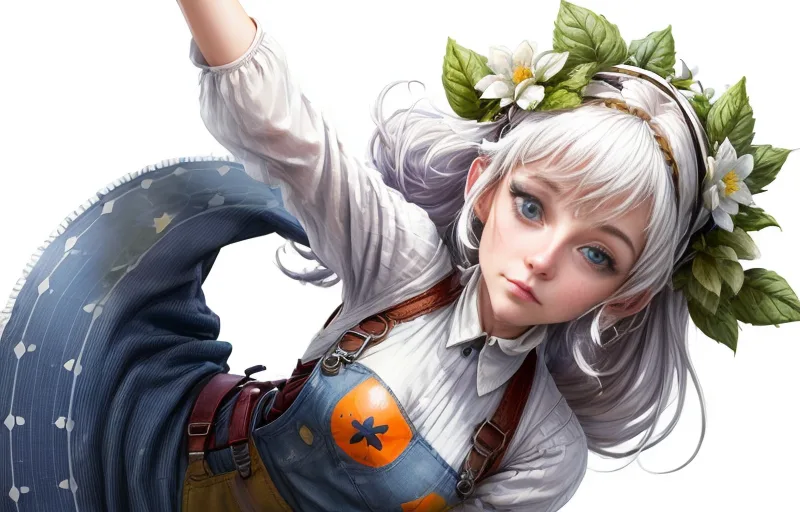
The answer is no. Absolutely not.
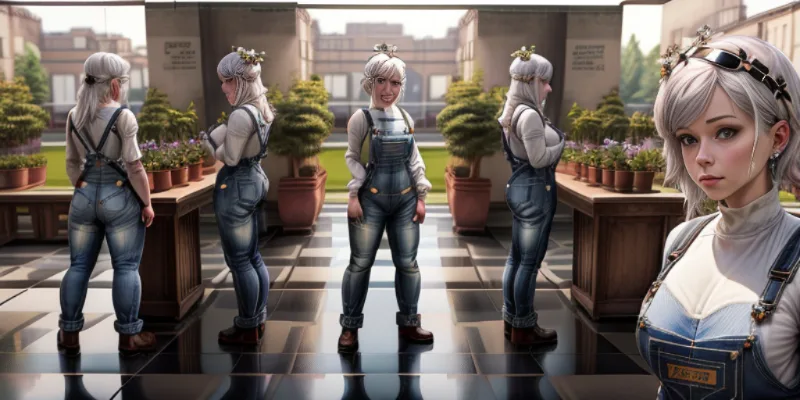
The above image uses the same seed and prompt as the first image’s above but with (((White background))) as the first concept in the prompt set at a ridiculously high attention score .
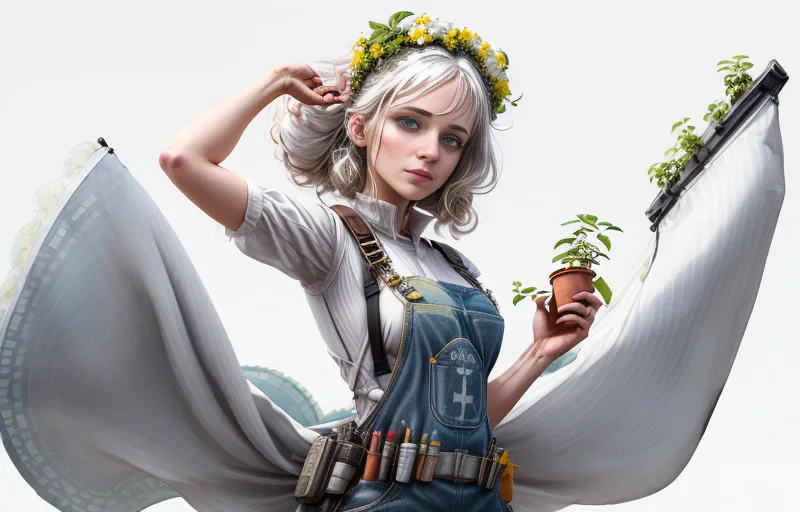
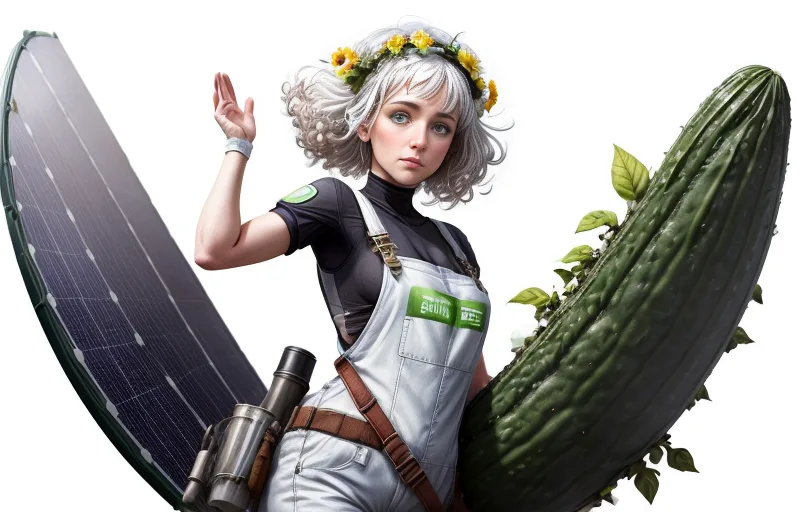
I mess with the prompt a little more and the results are mixed to say the least. That second imagine is all a bit ‘ride ’em cucumber‘. I have no idea what is going on.
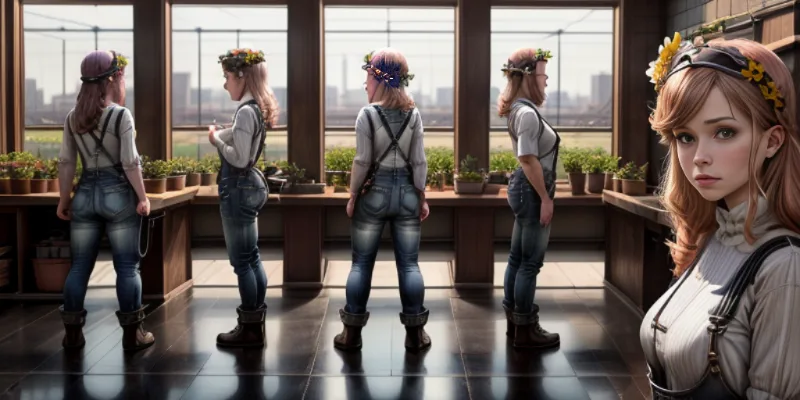
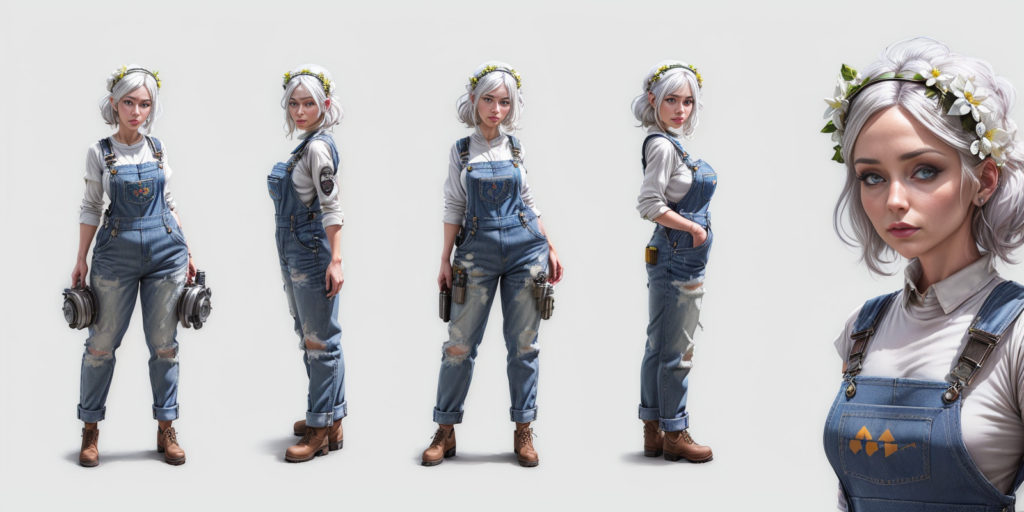
Following a ‘consistent characters’ tutorial on youtube I use controlNet + openPose I ask stable diffusion to generate a series of character turn arounds using the above pose file

This is no good at all.
I mess around with the prompt some more. But its pretty close to one used in the first images.


There outputs are absolutely awful. Either I don’t know what I’m doing (likely) – or I’m not giving clear enough instructions to Stable Diffusion (also likely).
It dawns on me that the ‘solarpunkness‘ of the character might be tied to the way the tokens in the prompt that make up the background interact with tokens in ‘the concept‘ of the characters description in latent space.
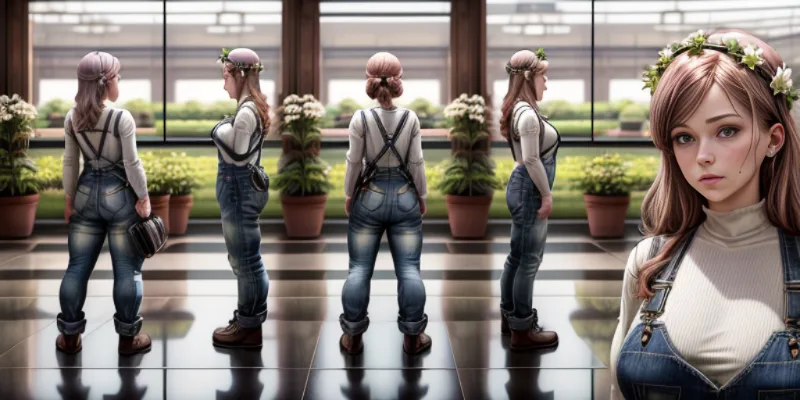
So I remove ‘white background and try and generate it again using the openPose+controlNet stack
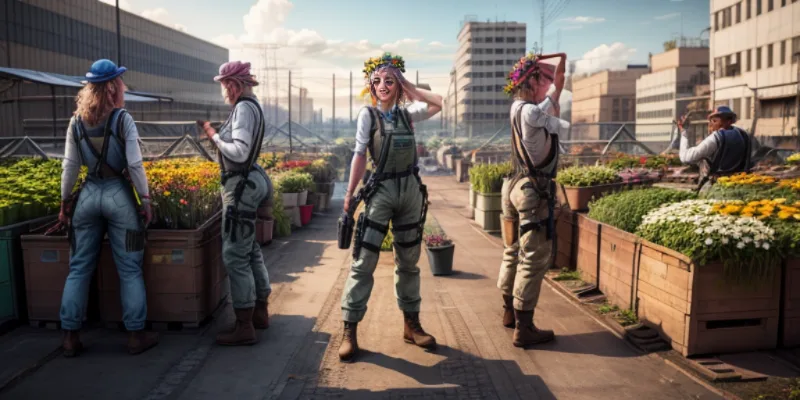
THIS IS AN IMPROVEMENT IS IT NOT? I mean, compared to the character and image i’m trying to replicate it looks like shit. But we’re ‘making moves’ in latent space here. Need to learn to dance before you can do the fandango.
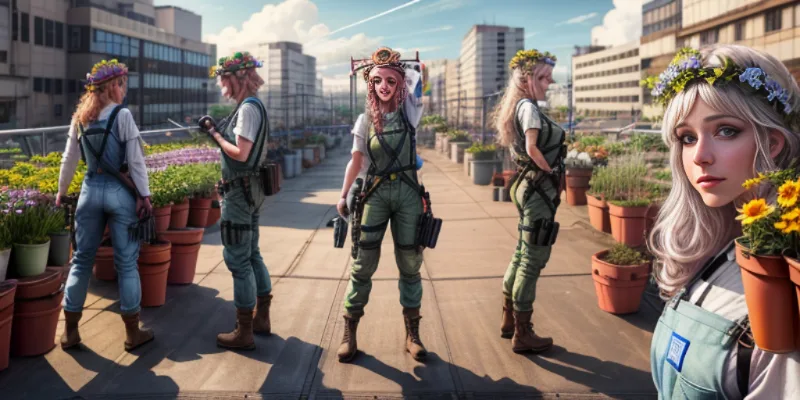
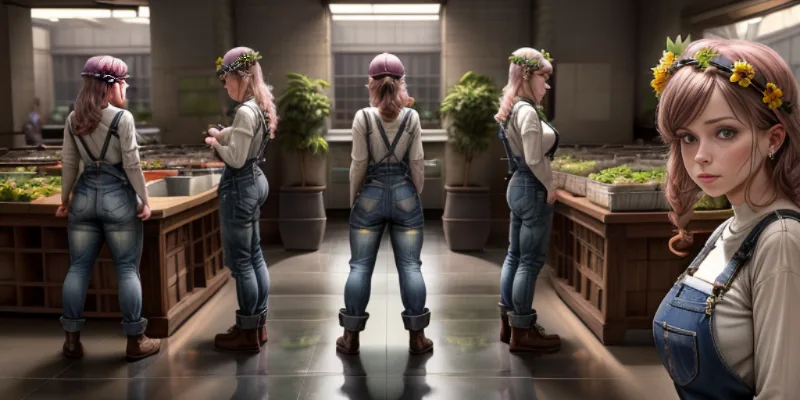
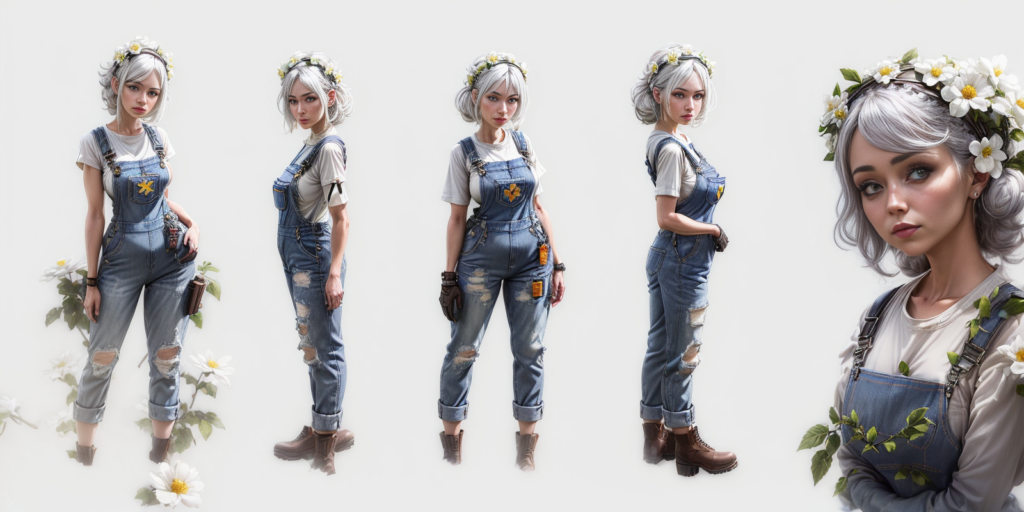
Maybe using high-rex fix will improve the quality and consistency of the character?


Absolutely yes! There’s an improvement in the quality and consistency of the characters. I guess if you have twice as many pixels and twice as many iteration steps you’re bound to get better results!
I’m just messing with weights and the negative prompts at this stage but I generate a few more

Some seeds give me some really cool images: I love how it’s segmented the image across ‘fames’ here
Permanently Moved
Permanently Moved (dot) Online is a quarterly audio personal podcast, written, recorded and edited by by @thejaymo
Most importantly, the source character is starting to emerge int he profile/close up image on the right. I am correct that the character itself is connected with the “Solarpunk woman, working in a small rooftop market garden, standing, solo” part of the prompt.
Pleased, I put (((white background))) back in as a really strong concept as the first item in the part of the prompt. But I also group the description of the character and the background as its own concept in the prompt.

You know this isn’t half bad?
Much better than the first attempts at getting the character on a white background anyway! More Importantly I’ve tweaked the prompt enough to get better consistency in the clothing. It’s weird that i’m getting a white jumpsuit tho.
I want to *just check* that it’s the background description that gives me the clothing style I want I remove white background from the prompt but keep the rest of the prompt the same with the brackets and groupings.
YUP The background has to be part of the prompt to get a character to be wearing the right outfit.
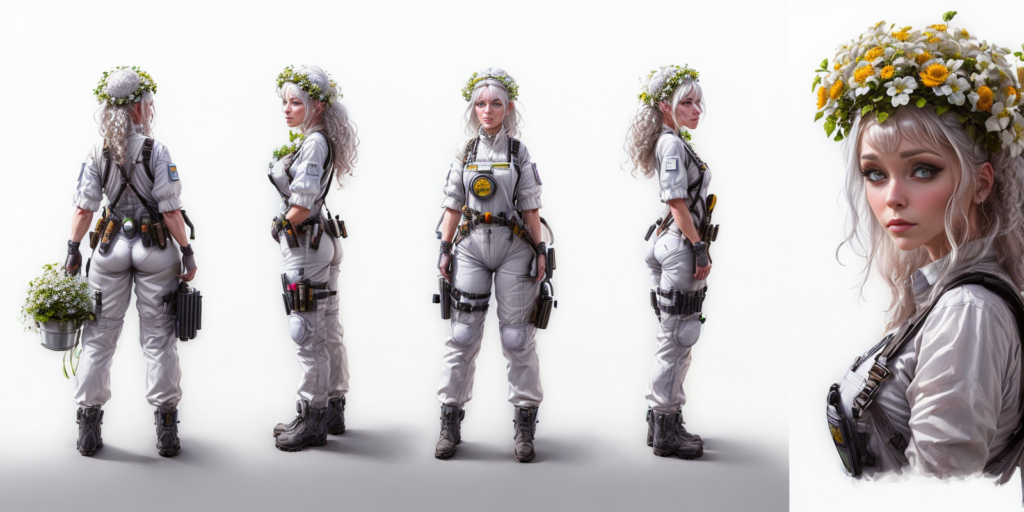
I ended up looking around searching for a solution to this problem and stumble upon ‘charturnerv2’ LoRA. Well I guess its a concept embedding.
Hey there! I’m a working artist, and I loathe doing character turnarounds, I find it the least fun part of character design. I’ve been working on an embedding that helps with this process, and, though it’s not where I want it to be, I was encouraged to release it under the MVP principle.
controlNet works great with this. Charturner keeps the outfit consistent, controlNet openPose keeps the turns under control.
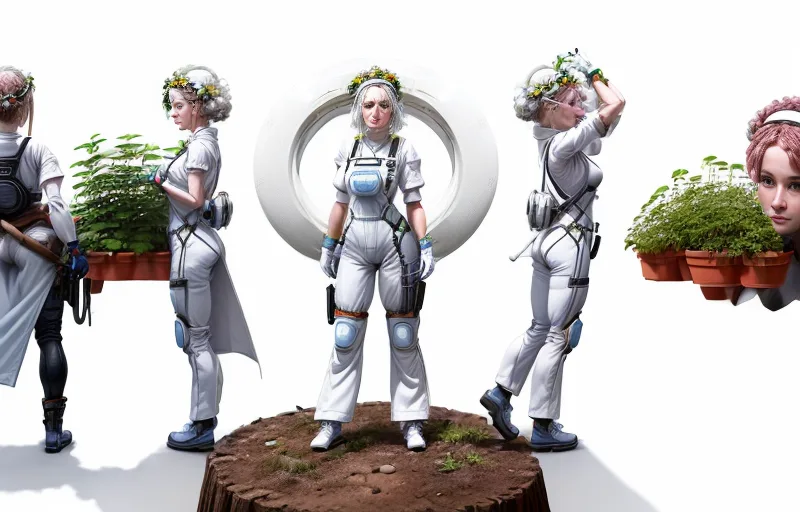
Does the combination of this LoRA, my prompt thats getting me *nearly there*, controlNet and openPose get me anywhere closer to the goal of getting consistent character turn arounds on a white background?
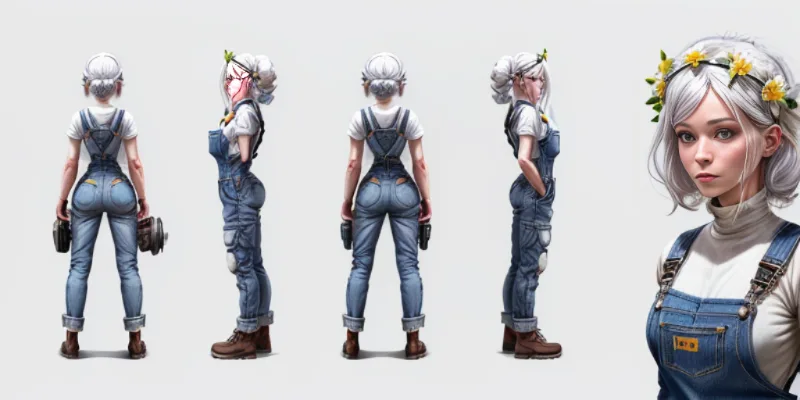
yes. yes it does.

I should point out that i’m using different seeds for all these images. Making life hard for myself. LOL.
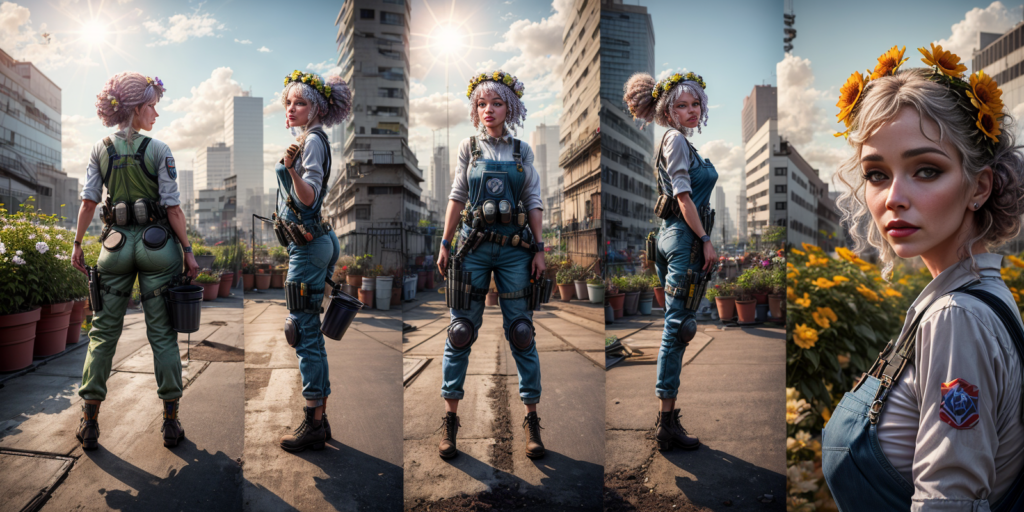
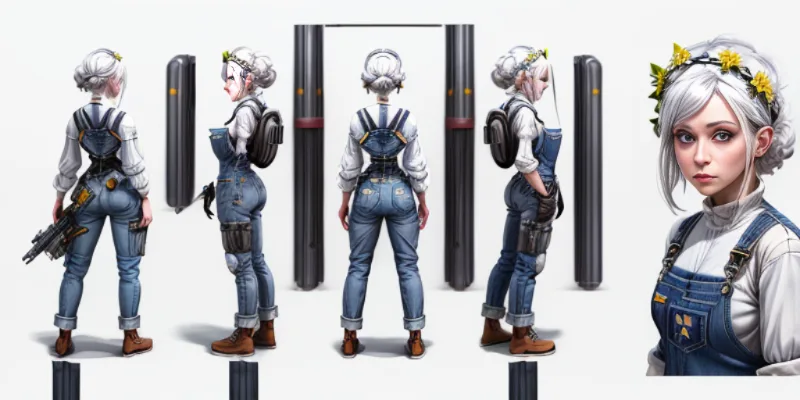
We already know that high rez-fix/upscale improves detail etc. But what do I get if I plug these images back into the image synth and do a Latent Upscale?

YES
Faces are looking a little weird though. I definitely can’t train a LoRA on this? Can I?
Well, I suppose I could if I only use the faces from the close up character profile and cut the bad faces out of the turn arounds whilst creating the training set?

You know…. I think at this point that the character I’m getting from the machine is almost the character I was trying to aim at recreate from the initial image. Its not bad.
But I’m only getting the consistent face in the profile image, not the rest of the turn arounds.
Problem
I’ve just burnt though 4 hours messing with all this.
I wanted to find a quick way to cut characters out of scenes and change the backgrounds. Instead I’ve been massively sidetracked, drunk on the M2Max’s raw compute, into thinking grand thoughts about training LoRA’s.
I’m supposed to be speed running making a game!!!
If I had more time: The next steps from here would be to generate each character, cut them all out the turn around images in Affinity, tag them all, train a LoRA, etc etc… this is going to take forever. At this point I’ve only got 22 hours left. I don’t even know how to use Godot yet….
Doing all this for every single character might make sense if I was making a ‘proper’ game. The time investment would be worth it for the results and creative possibility it has.
But seeing as the route I developed in Part 1 was ‘Cut the character out in affinity and paste them on another background‘ I might as well stick with that. Its quicker and the workflow with least resistance.
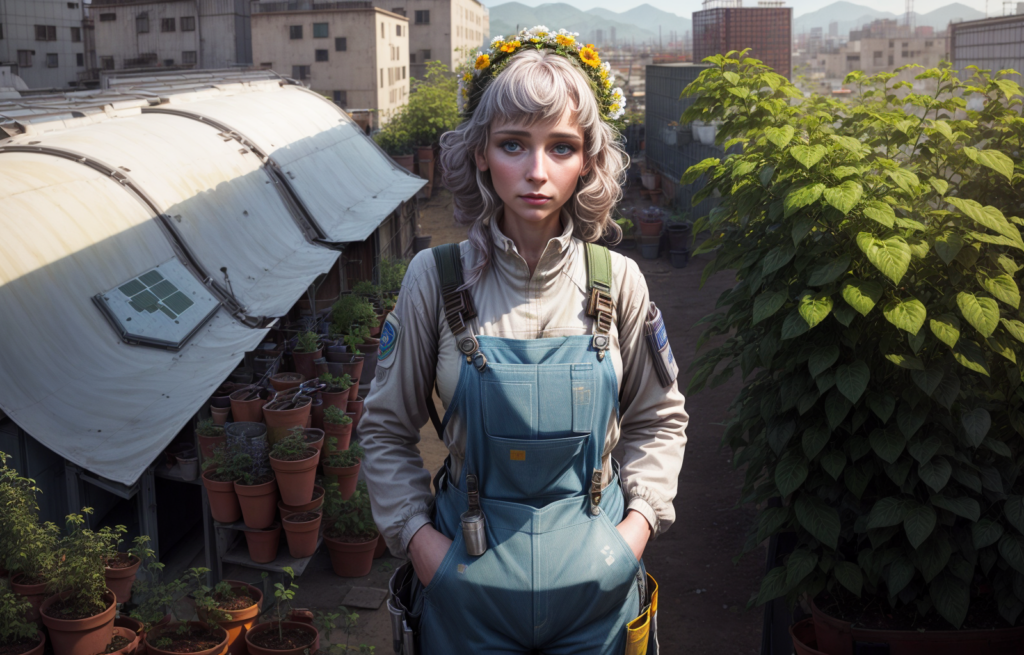
I generate another character I want in the game: A ‘cool guy fixing Solarpunk shit in a shed’ and call it a day.

In the next post I’ll make a speaking animation for the guy above, and open the Godot game engine for the first time….
The next milestone is to get visual novel interactions/animations working and understand the general shape of a Godot game file. Stretch goals is to get dialogue interactions working and as far as I’m concerned, I’ll be half way there.
Can’t be that hard right?
Newsletter 📨
Subscribe to the mailing list and get my weeknotes and latest podcast episodes, sent directly to your inbox
Leave a Reply